Getting into the world of Rasberry Pi is exciting, the possibilities are virtually endless! As with every computer, the first step is installing the OS (Operating System). The wonderful people over at the Raspberry Pi Foundation have created a piece of software that makes this process painless! The Raspberry Pi Imager is your one-stop image writing software that let’s you write any supported OS to an SD card with the click of a button, follow along to see how it works.
Requirements:
- Raspberry Pi Imager software
- Desired OS
- Appropriately sized MicroSD card
Installing the OS with Raspberry Pi Imager
- Visit Raspberry Pi Foundation’s Software Repository and download / install the Raspberry Pi Imager software for your host OS.
- From that same site you can find their Supported Operating Systems that have been tested and confirmed as working. Find an OS that fits your project’s needs, there is no need to download anything. I’ll be using Ubuntu Server 20.04 LTS 64-bit
- Once installed, open the Raspberry Pi Imager software. You will be presented with the screen below:
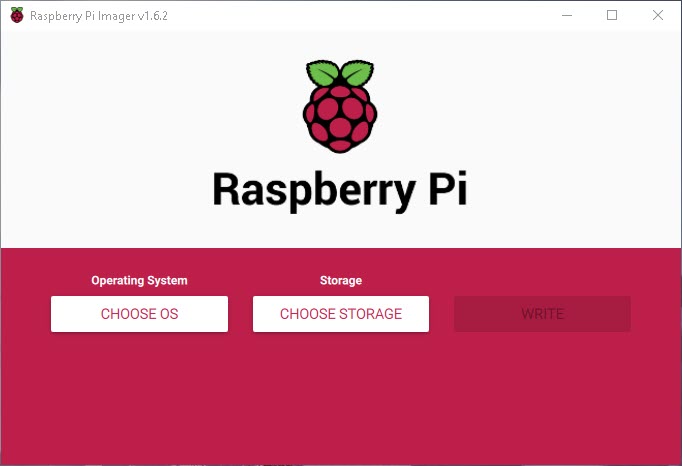
- From here, click on Choose OS and select the OS option you wish. For Ubuntu, we’re going to select Other general purpose OS.
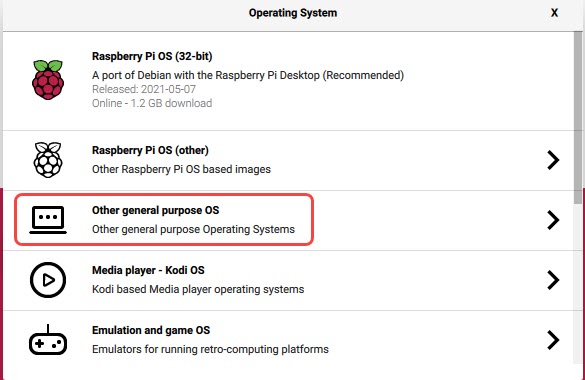
- Select Ubuntu.
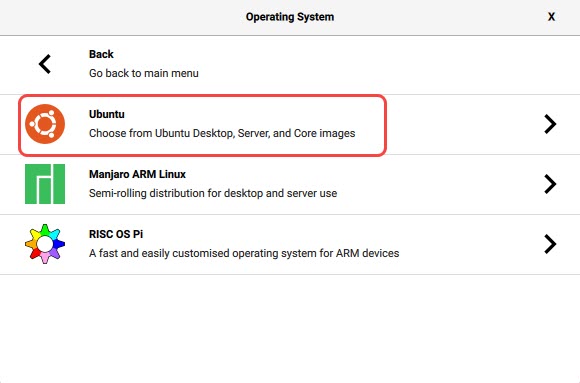
- Scroll down until you find your OS version and select it.
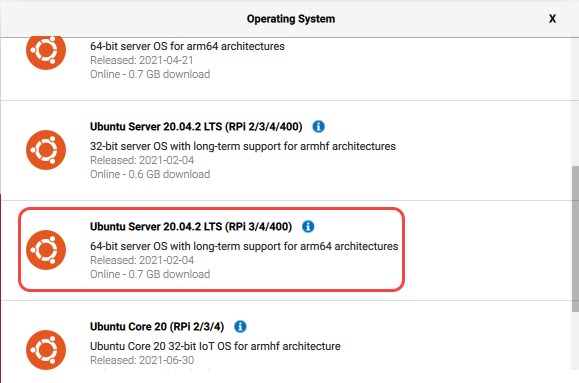
- Next, click Choose Storage and select your storage device.
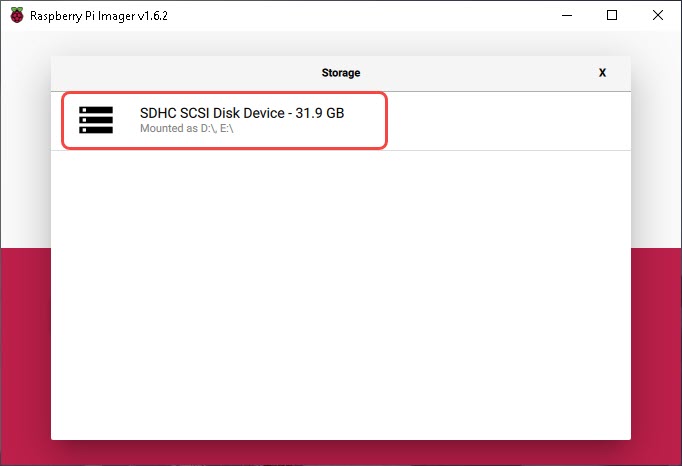
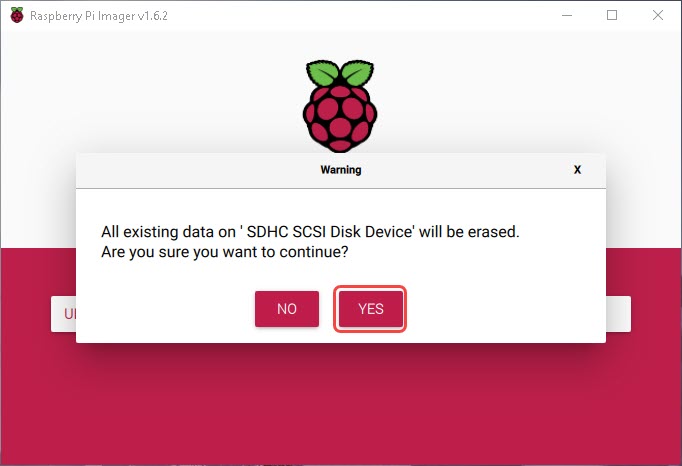
- Finally, click Write to begin writing the image to your device. If there is already data on the SD card, you may be prompted with the below screen. If you don’t need the data, click Yes to continue.
This process may take some time, so feel free to grab a cup of coffee while you wait! When it completes, you can load the SD card into your Pi and boot. If you don’t have a keyboard and monitor handy for initial configuration, check out my guide on headless Raspberry Pi configuration in order to set up SSH and a static address out of the box.

