The world of Raspberry Pi is a truly amazing place, but sometimes configuring another system is a pain when you don’t have a spare keyboard, monitory, or mini HDMI adapter. When that becomes the case, we can enable SSH from the boot partition by simply adding a file! Follow along with step-by-step to start configuring a headless Pi.
Configuring SSH without booting the Pi
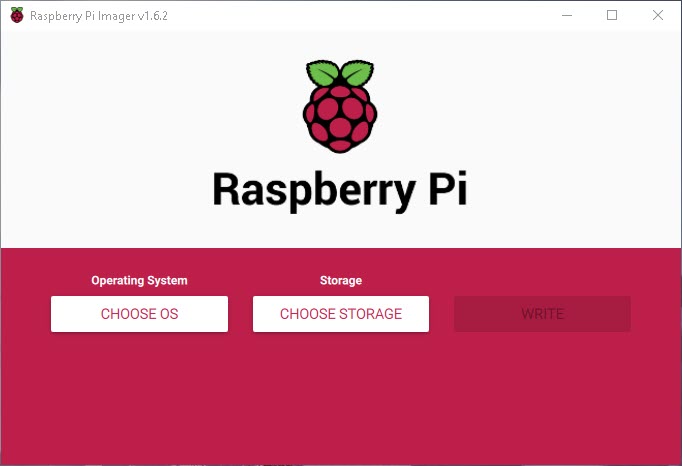
For this build I’m going to be using the Raspberry Pi Ubuntu 64-bit OS without a keyboard or monitor hooked up to the Pi. To do this, first install the OS using Raspberry Pi Imager and then follow the steps below to enable SSH and configure the OS.
- Before removing the MicroSD card from the computer that formatted it, navigate to the boot partition in PowerShell, CMDP, or any other terminal / shell emulator. In my case, the D drive was labeled system-boot.
cd D: - Create an empty file, with no extension, simply named ssh
PowerShell: New-Item -ItemType file ssh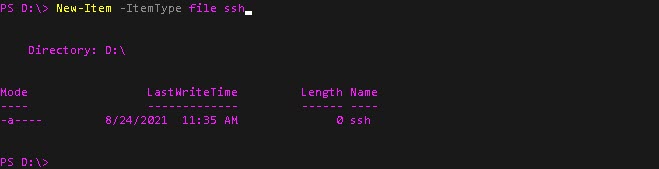
- Verify that the ssh file is present in the directory via CLI or file explorer
From PowerShell, run ls to view files / sub directories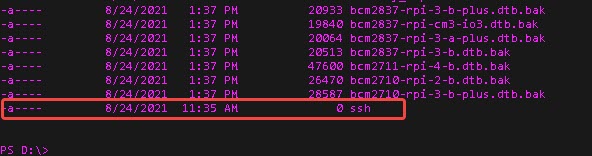
- Remove the MicroSD card from your computer and insert it into the Raspberry Pi, then power on the Pi.
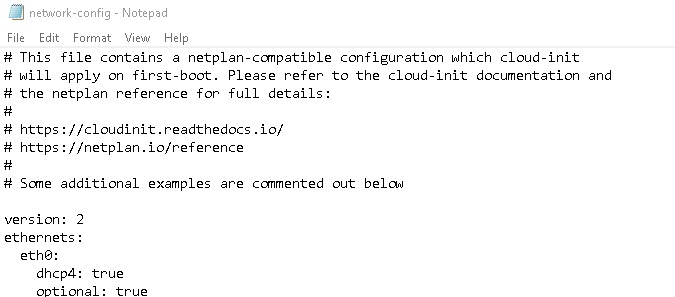
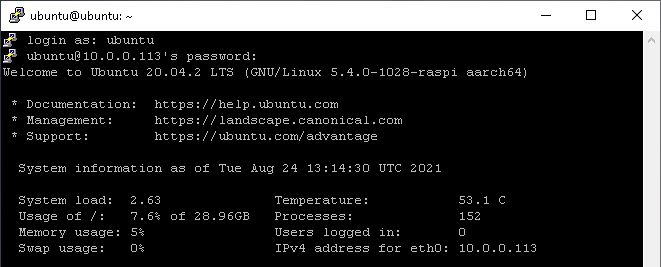
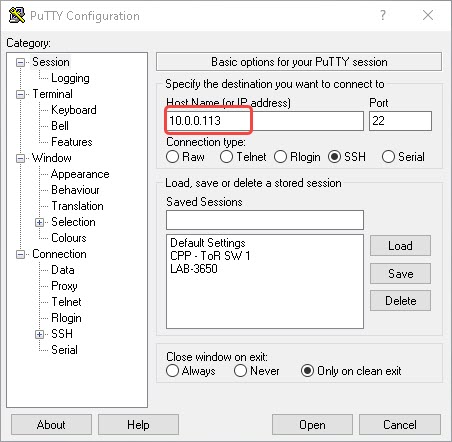
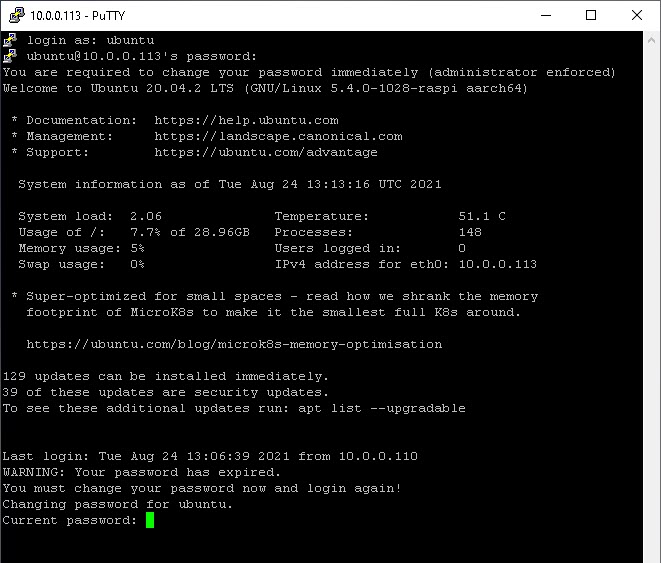
- By default, Ubuntu is configured to use DHCP. You can log into your router / DHCP server to find the IP assigned to the Pi. My DHCP address is 10.0.0.113. Check out this guide to configure static IP before booting. Open PuTTY and connect to your DHCP address
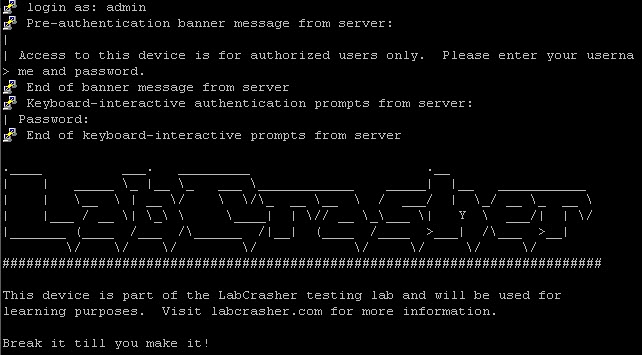
- Accept the certificate and you should be prompted to sign in. For Ubuntu, the default username is ubuntu and the password is ubuntu.

- You will be prompted to change the password when you connect. Once you do this, you’ll need to reconnect to the Pi with PuTTY.
- Connect to the DHCP address again via PuTTY, then enter the username and the password we just changed.

At this point your Raspberry Pi is up and running! As a best practice, always update your system before installing / configuring anything else! You can do this with a single command: sudo apt update -y && sudo apt upgrade -y. This will ensure you have the latest packages installed before continuing. Have fun with your Raspberry Pi!