Welcome back to the Home Lab 2018 series! Now that we’ve had an overview of my lab in my first post, Home Lab 2018 Overview, it’s time to dive into the networking aspect of the build!
Networking Components
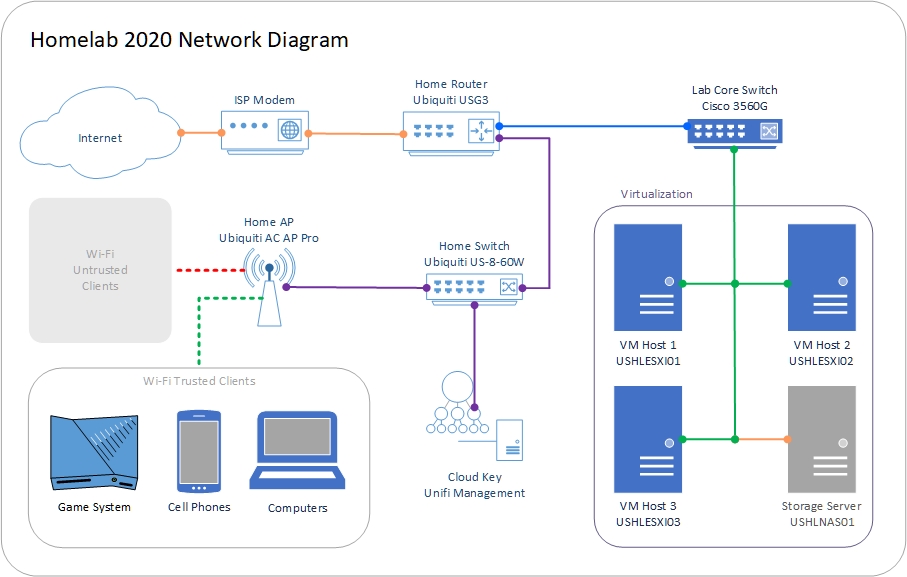
- Ubiquiti Unifi Security Gateway (USG)
- Ubiquiti US-8-60W Unifi Switch
- Ubiquiti Unifi Cloud Key – Remote Control Device (UC-CK)
- Ubiquiti Networks Unifi PRO Access Point (UAP-AC-PRO-US)
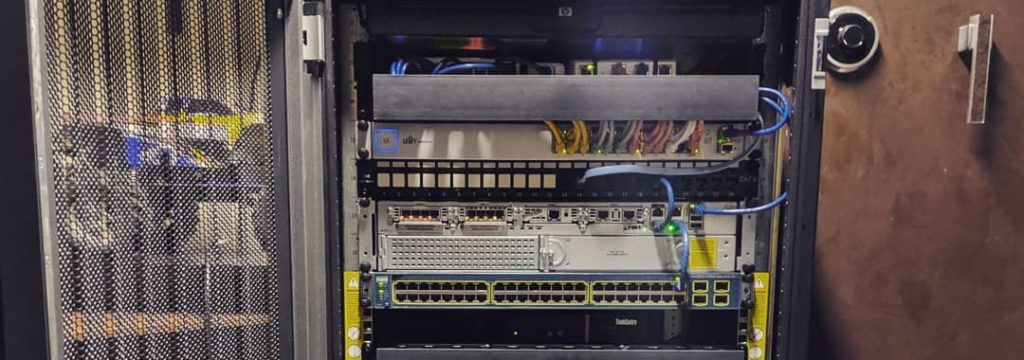
After some researching, I decided that Ubiquiti’s Unifi line was a good fit for my build. The main reasons I chose Unifi because it allows me to manage each device from one console (more on this later), has remote access via Ubiquiti’s cloud management, and the router has a built in VPN. All of the above devices are Gigabit capable and, in my opinion, are relatively inexpensive for the features they have. As you can see in the images, I’m already using all of the ports on my switch, so I’ll be adding a Ubiquiti US-24 Unifi 24-Port Switch with 2 10Gtek Ubiquiti SFP Gigabit RJ45
modules in the near future!
Before I get into my lab configuration, I wanted to mention that my USG is nested behind my main home router. I wanted to a) be able to have the full routing capability without disrupting my home network and b) take this setup with me when I move out and use it as a primary router.
Unifi Security Gateway Connections
- eth0: WAN
- eth1: LAN (192.x.x.x network)
- eth2: Not Configured
Unifi Switch Connections

- Ports 1-2: ESXi Management
- Ports 3-4: VM Traffic
- Port 5: Unused
- Port 6: Access Point
- Port 7: Cloud Key data
- Port 8: Uplink / Trunk port
I have 3 VLANS configured at the moment, each one color coded:
- VLAN 20: ESXi Management Traffic (Grey)
- VLAN 30: VM Traffic (Yellow)
- VLAN 40: Reserved for future NAS Traffic (Orange)
I’ve dedicated 2 ports for each VLAN so that I set up failover / load balancing in ESXi. In the event one port goes down, the other will take over as the active port.
Here’s what the Unifi Web Console looks like:
no images were found
That’s all for now until I purchase the 24 port switch I mentioned above, I’ve run out of room! In the next part of this series, I’ll go over how I put all of the hardware together!


